1. Configure RunPod Template
When deploying your pod, make these important configurations:
- Click "Edit Template" during deployment
- Find "Expose HTTP Ports" section
- Add port 8188 (ComfyUI's default port)
For detailed port configuration instructions, see: RunPod Port Configuration Guide →
2. Start ComfyUI
You can either start ComfyUI manually or use our automated setup script.
Option A: Automated Setup (Recommended)
Run this command in your pod's terminal to automatically set up and start ComfyUI(Please note run this command in your volume directory, usually mount to /workspace):
bash
bash <(curl -s https://raw.githubusercontent.com/ShunL12324/comfy-portal/main/repo-assets/server-setup-RunPod.sh)Option B: Manual Setup
After your pod is running, start ComfyUI with network access enabled:
bash
python main.py --listen 0.0.0.0 --port 8188You can verify the HTTP service status and get your connection URL:
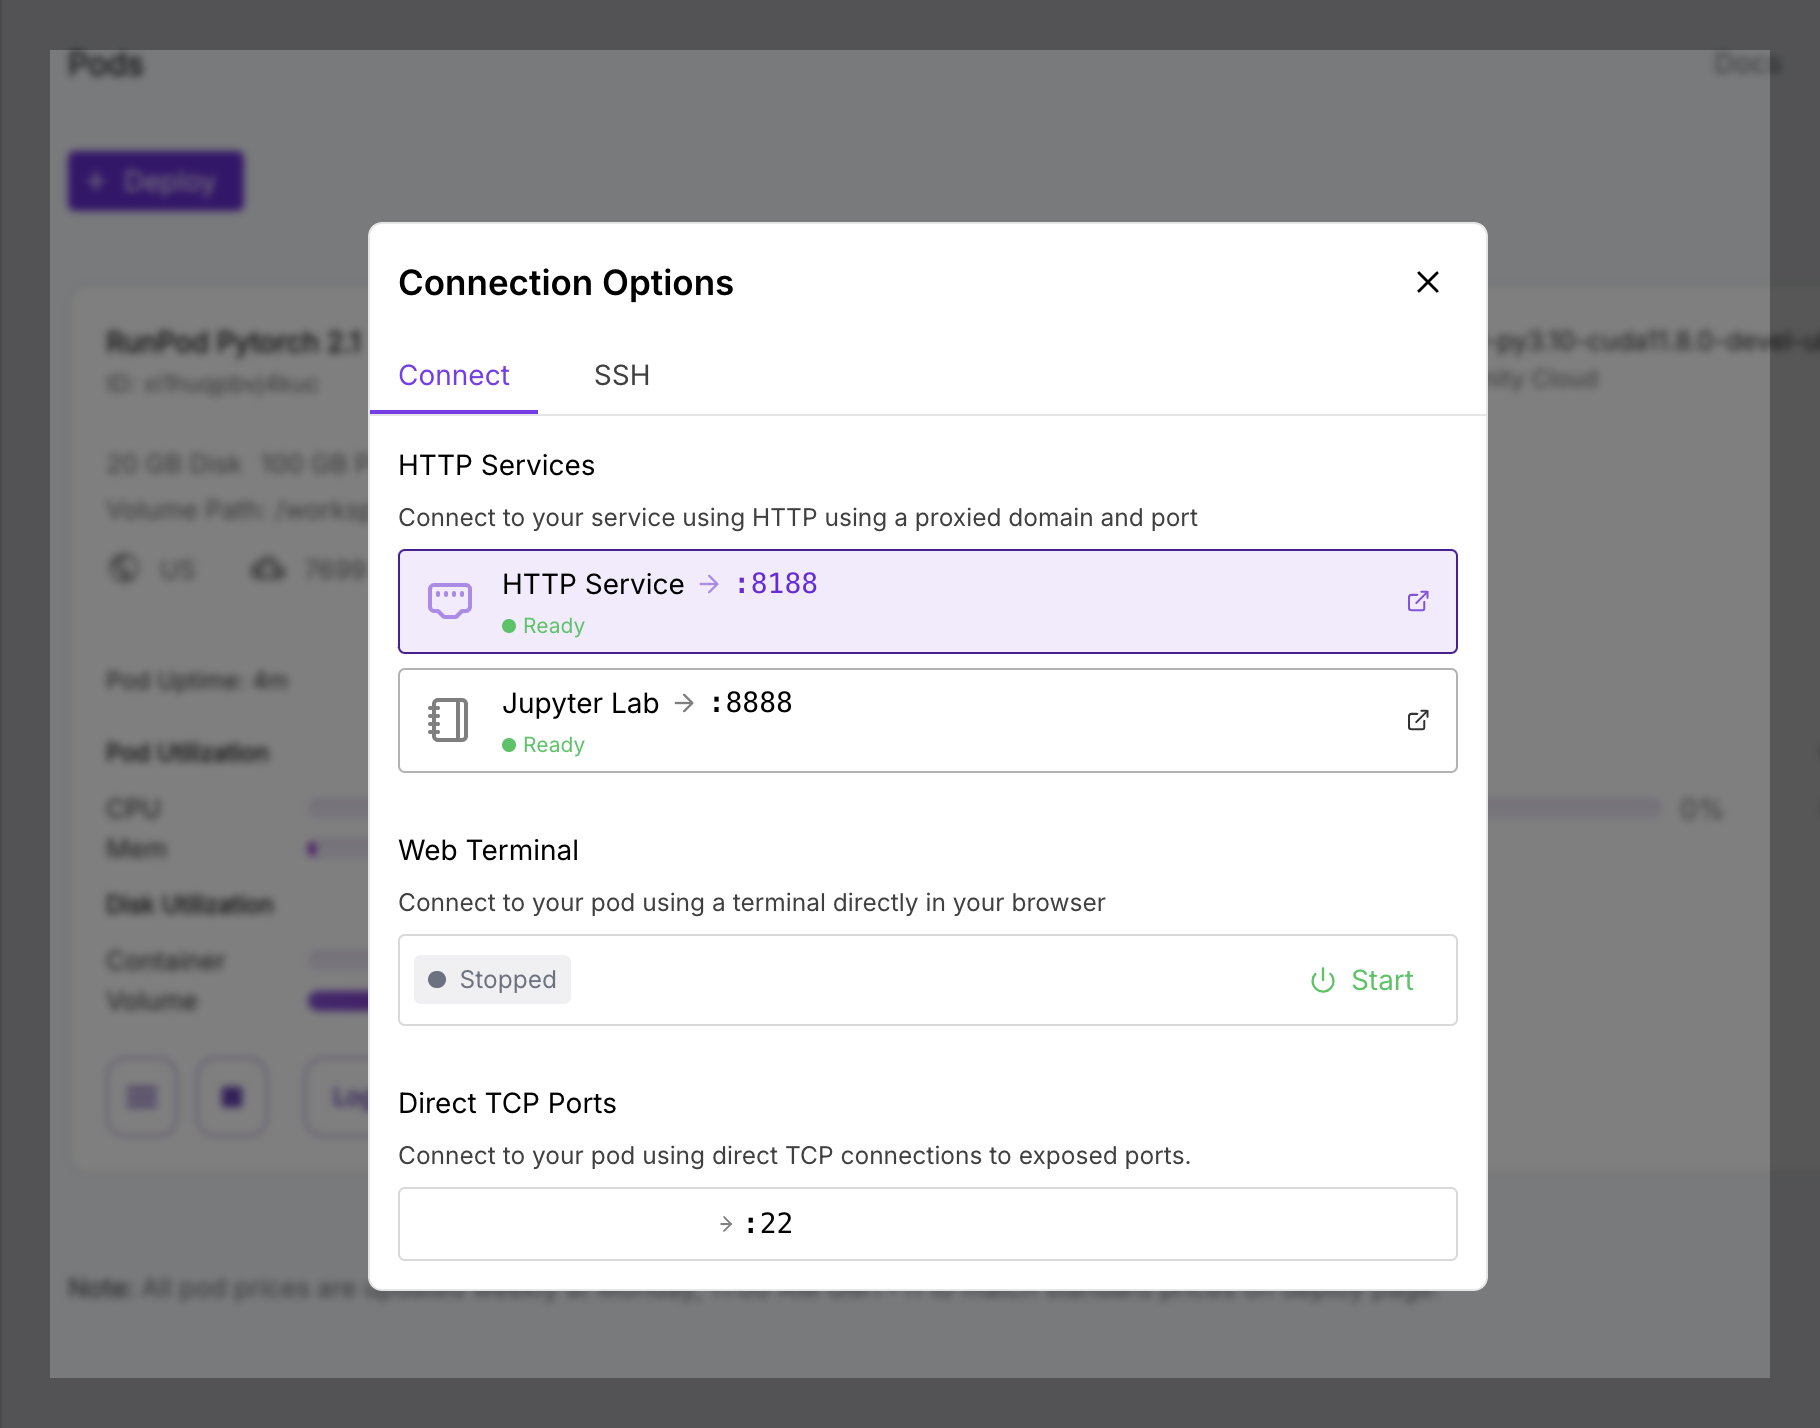
- Go to your pod's management page
- Click "Connect" button
- Under "HTTP Services", you should see port :8188 marked as "Ready"
3. Connect to the Server
Once ComfyUI is running, tap the "+" button to add the server:
- Name: Give your pod a memorable name (e.g., "RunPod Server")
- Host: Your pod's proxy URL (do not include https:// prefix)
- Port: 443 (RunPod proxy uses HTTPS port)
Port Configuration
Although ComfyUI runs on port 8188, we use port 443 because RunPod proxies the connection through HTTPS.
Example Configuration:
| Field | Value |
|---|---|
| Name | RunPod ComfyUI |
| Host | ****abc-8188.proxy.runpod.net |
| Port | 443 |